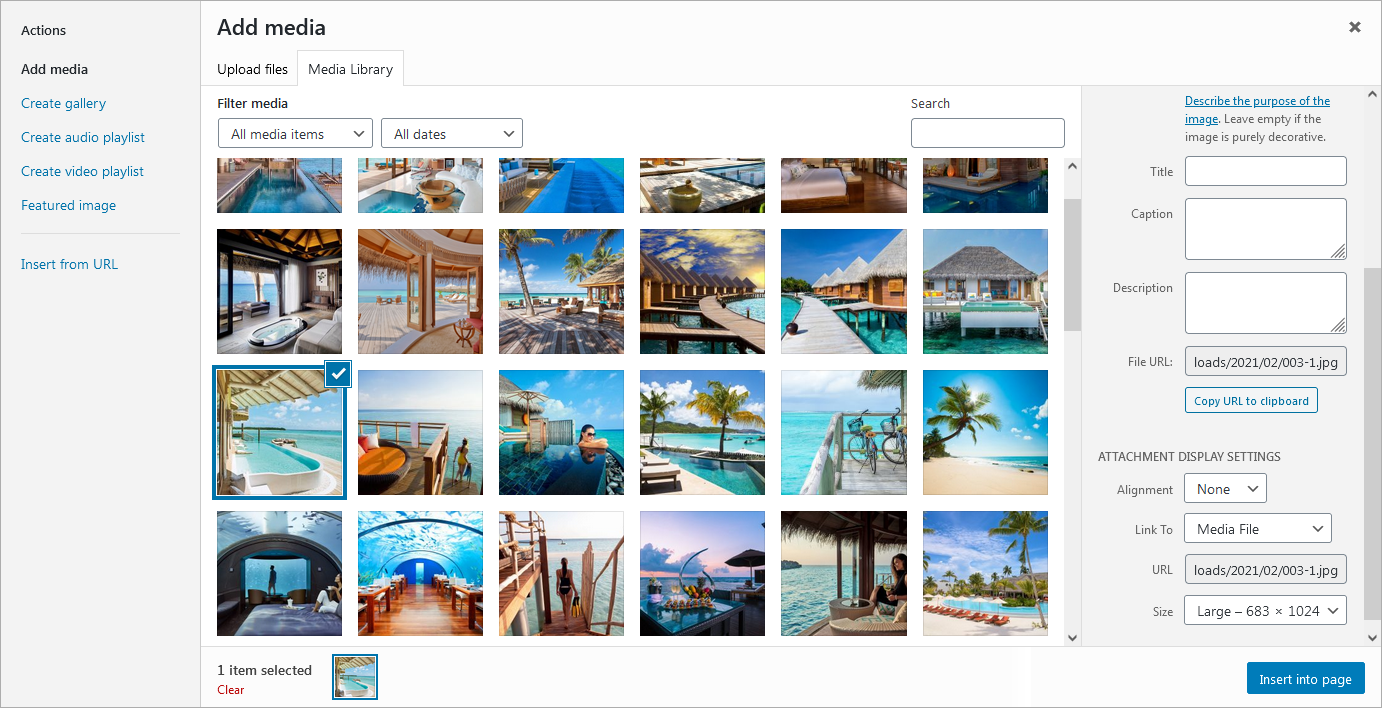
In order to display images in Ads-Mediabox, you should turn on Link to Media File option in Attachment Display Settings.
After activation, the plugin should run automatically through the website in 90% of cases.
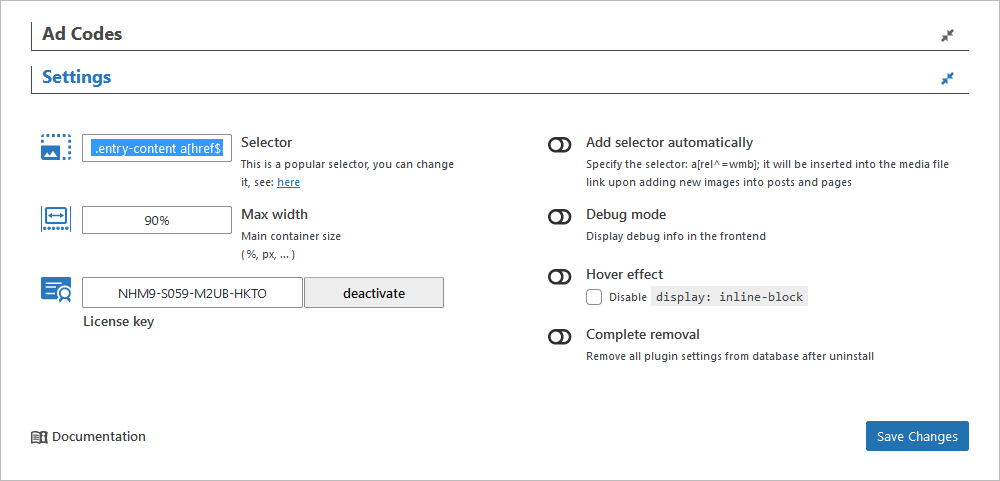
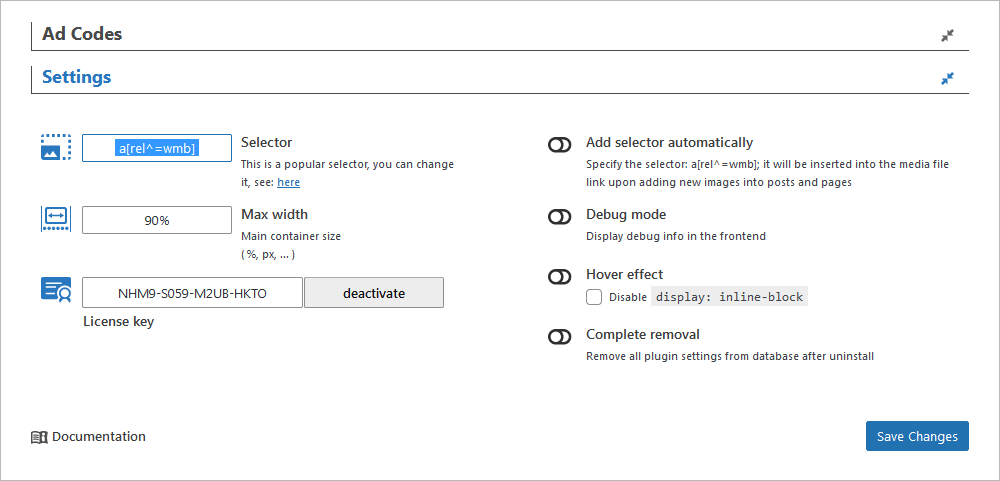
This is due to the preinstalled selector, which can be replaced in Global Settings of Ads-Mediabox (Selector box).
Here’s its code:
|
0 1 2 |
.entry-content a[href$=".jpg"], .entry-content a[href$=".png"], .entry-content a[href$=".jpeg"] |
If the plugin did not run through the website, it would be required to connect the plugin manually. You can do it in two ways.
1. Replace “.entry-content” in default composite selector
To do so, you will need to detect CSS container that is used to display your images, and “.entry-content” should be replaced with your own class for a layer with an article (.entry-content or .content, or ….)
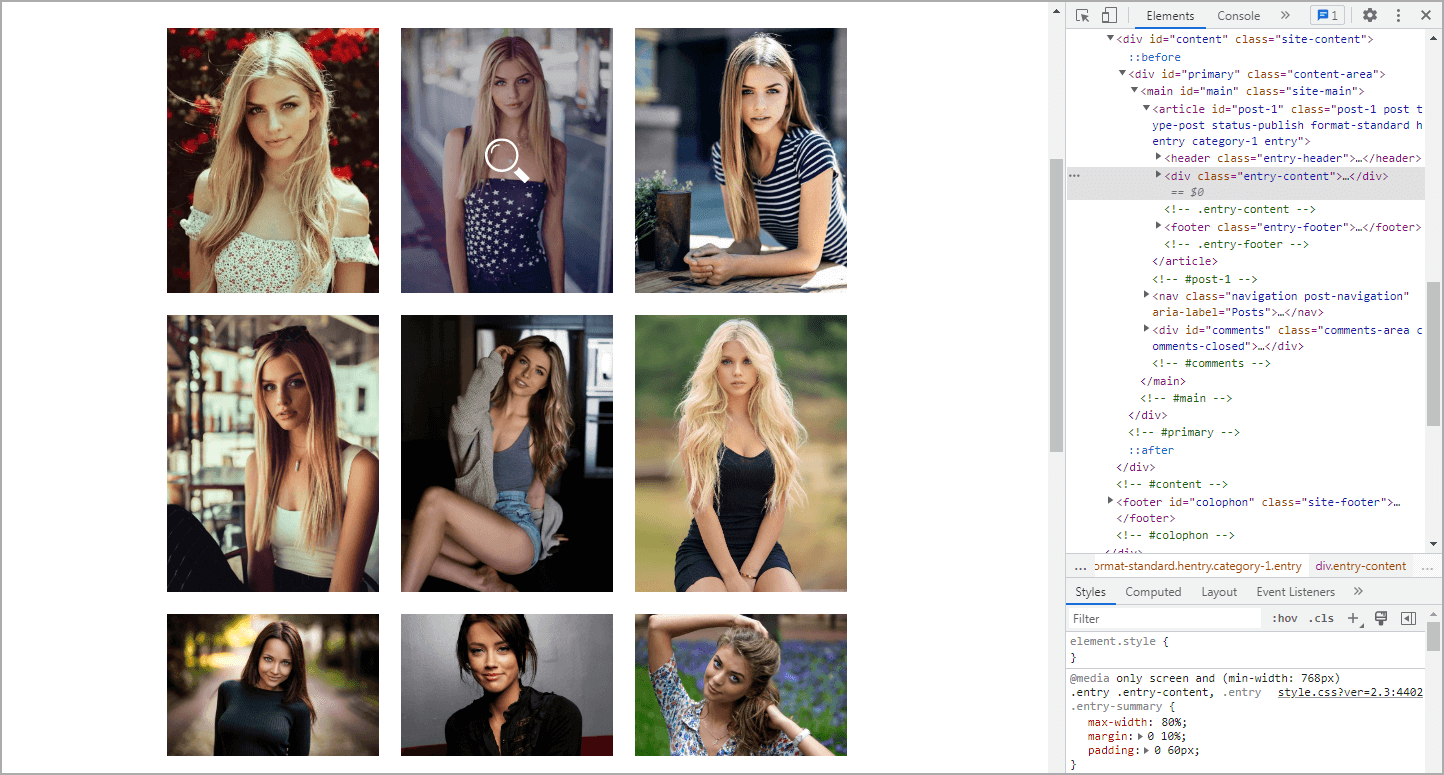
For example, one of the most popular WordPress themes, Twenty Nineteen, features “.entry-content” class.
The default selector runs well.
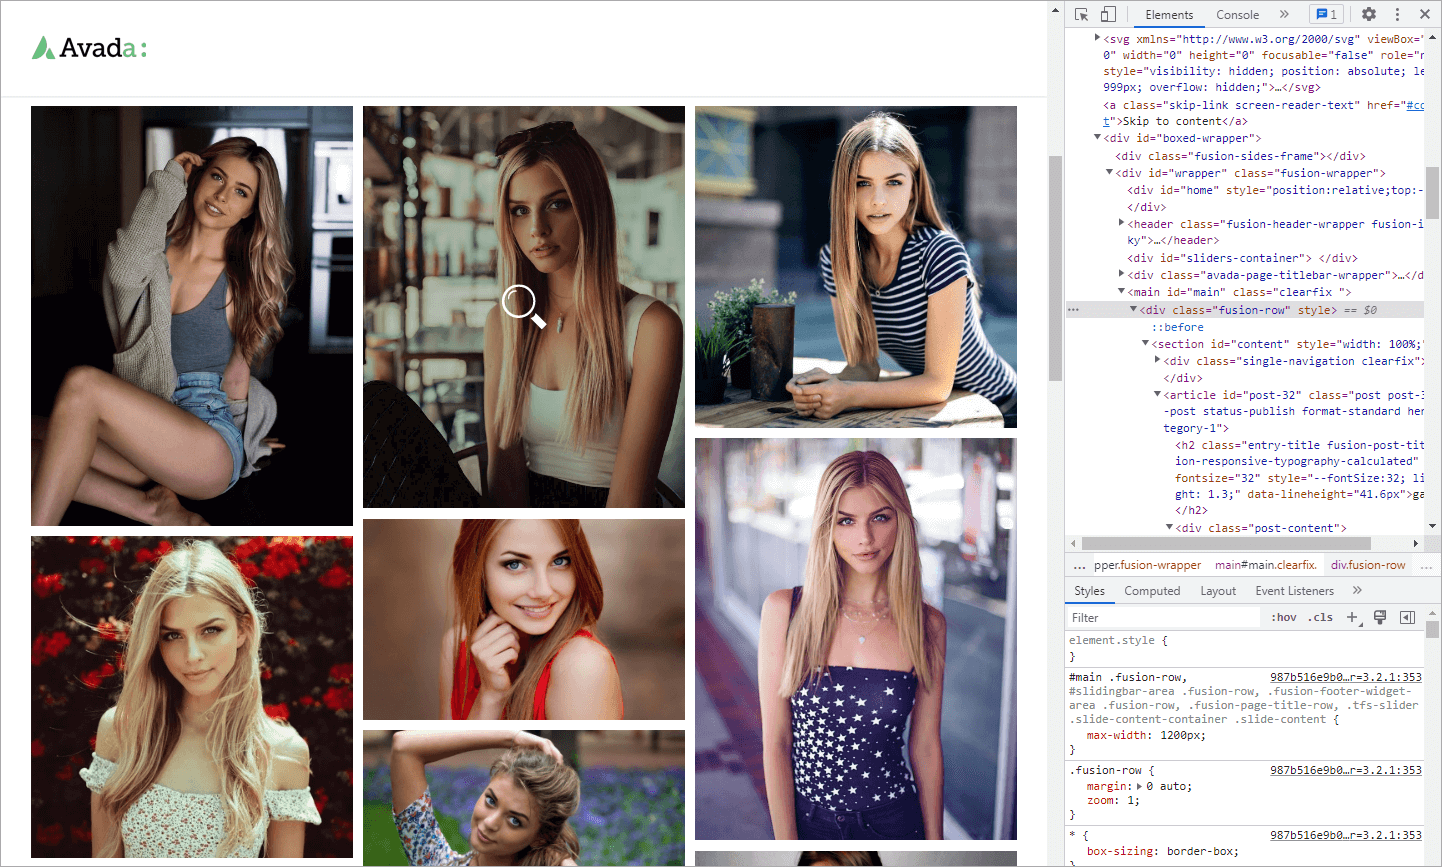
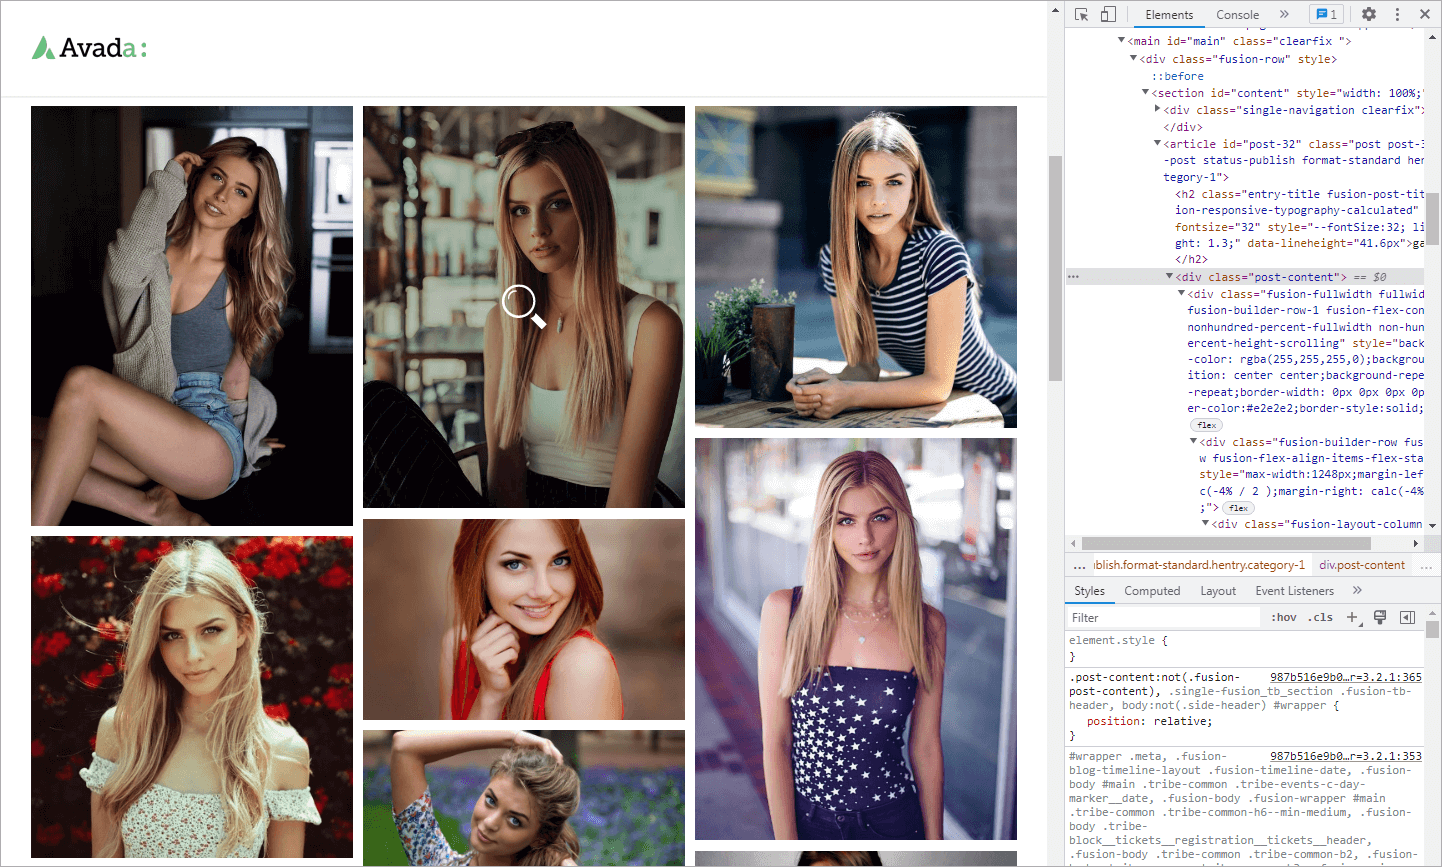
In Avada theme, you can use “.fusion-row” and “.post-content” classes.
We replace “.entry-content” with “.fusion-row” or “.post-content”:
|
0 1 2 |
.entry-content a[href$=".jpg"], .entry-content a[href$=".png"], .entry-content a[href$=".jpeg"] |
|
0 1 2 |
.fusion-row a[href$=".jpg"], .fusion-row a[href$=".png"], .fusion-row a[href$=".jpeg"] |
|
0 1 2 |
.post-content a[href$=".jpg"], .post-content a[href$=".png"], .post-content a[href$=".jpeg"] |
Actually, it is very simple. All you have to do is to look through the code of your theme.
In Astra theme, you can use:
|
0 1 2 |
.ast-container a[href$=".jpg"], .ast-container a[href$=".png"], .ast-container a[href$=".jpeg"] |
And for BeTheme, we have the following:
|
0 1 2 |
.sections_group a[href$=".jpg"], .sections_group a[href$=".png"], .sections_group a[href$=".jpeg"] |
Note! It is not recommended to use selector of the following type:
|
0 1 2 |
a[href$=".jpg"],a[href$=".png"],a[href$=".jpeg"] |
This is because such selector will be enabled over the entire website – header, sidebars, footer. Besides, the contextual ads displayed may contain pictures corresponding to this selector.
2. Installing a simple selector — a[rel^=wmb]
Copy a[rel^=wmb] and install it in Global Settings of the plugin (Selector box), as shown on the screenshot below.
Then, insert the following code into functions.php of your theme:
|
0 1 2 3 4 5 6 7 8 |
function wph_auto_add_rel_wmb($content) { $pattern ="/<a(.*?)href=('|\")(.*?).(bmp|gif|jpeg|jpg|png)('|\")(.*?)>/i"; $replacement = '<a$1href=$2$3.$4$5 rel="wmb"$6>'; $content = preg_replace($pattern, $replacement, $content); return $content; } add_filter('the_content', 'wph_auto_add_rel_wmb'); |
The plugin should work now.
In case you encounter any difficulties, please, contact out support team.
